Super Quick Guide to Start Using Hugo
Wordpress is still the defacto CMS for blogging or just any simple website generally. I’ve created many Wordpress site both for clients and myself. With the plethora of plugins, it can do pretty much anything from e-commerce to paid-membership site.
So after all, why would you choose to change?
Before I knew about static site generators, the choice was between using CMS of some kind versus running straight up html/js/css. The former has a lot of advantages, but it is heavier and requires more maintenance. The latter is lighter, easier to run, but requires a lot of technical know how to code them.
Static site generator
The static site generator sits happily in the middle of those two. It is surprisingly easy to use and quite delightful, suprisingly.
There are many choices to explore and you can have a look at them at StaticGen. The choices really just boils down to preference as most of them works really well.
I chose Hugo mainly because it uses Go language instead of Ruby or JS like the others. Nothing wrong with those, it’s just that I wanted to try out new things.
There is a really good getting started guide by the folks at Hugo and I will just go through several of the most useful functions that it has.
Installation
It is very easy to install hugo if you have Brew on your mac. Just run this:
brew update && brew install hugo
After a while, you will be ready to go!
Initiating a new site
After installation, just cd to where you want your new project to be and run:
hugo new site {name of site}
It will produce a list of files to start.
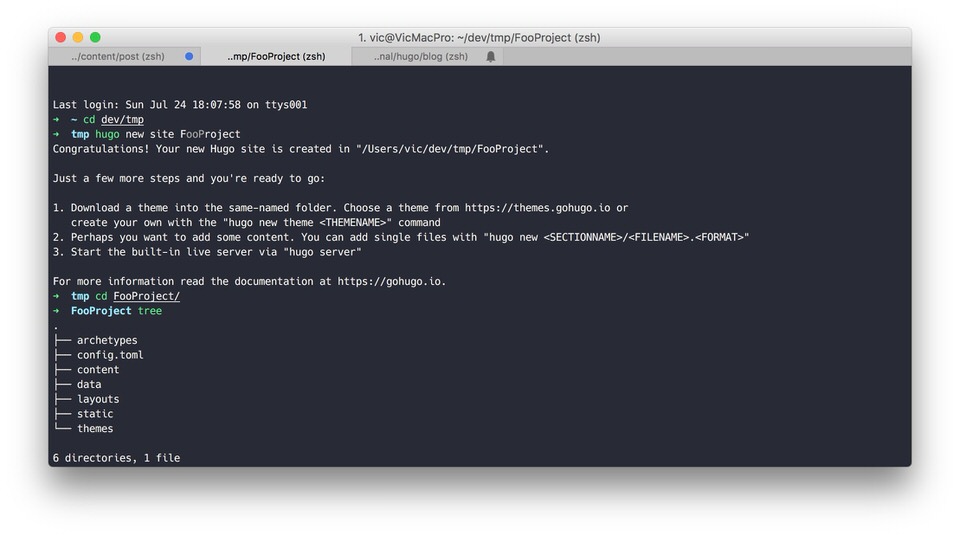
We will be mainly playing with themes and config.
Installing theme
From the main folder, just do cd themes to move into themes directory and install any themes that you want. You can either choose one from the GoHugo theme list or you can clone my theme by running:
git clone https://github.com/augusteo/ghostwriter
I couldn’t find a theme that I really liked so I tinkered one out. This theme is combination of Ghostwriter and Cactus theme with several twist to make it cleaner and more minimalist.
after the theme is done, just edit the config.toml file to include the line
theme = "ghostwriter"
and you are done!
Writing a blogpost
This is my favourite part of static site gen. No longer do we need to go to the web browser or a specialized writer to start blogging. In fact I am writing with Vim now!

Markdown syntax that Hugo supports are a lot simpler compared to HTML tags and a lot faster to write.
Publishing
After writing your blogpost, depending on the theme, you might need to call undraft to make it visible on your Hugo site.
Once you make sure that they are undrafted, just run hugo server on the main directory and you should see the server running.
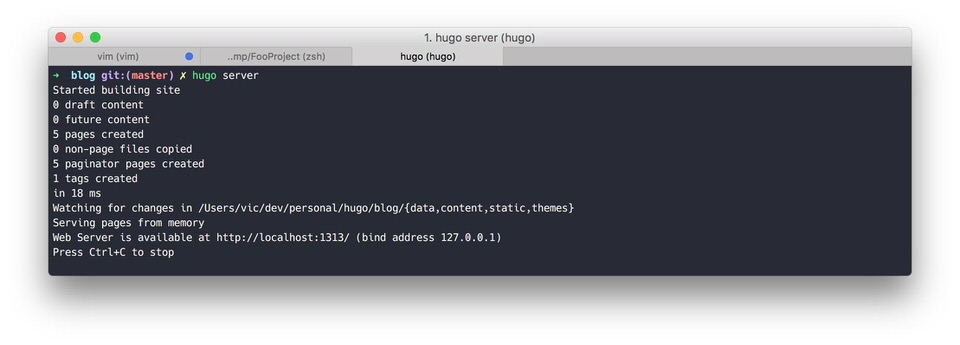
Now when you open localhost:1313 on your web browser, you should see your new blog displayed!
Deploying
I will write an article soon about spinning up a new CentOS VPS, installing Nginx and writing a script to automate deployment with Rsync and SSH. In the future we will also explore hosting the site on AWS S3 and CloudFront.
Summary
Hugo and the other static site generators does what it promises. By serving static files instead of generated pages and database fetches, you will save a lot of server cost in the long run. The more traffic you have, the more money you will save. Moreover, since static files doesn’t require processing at all, it will be served at a much faster speed compared to traditional CMS.
The best benefit in my opinion is that you can write markdown anywhere, edit and publish your articles without touching a web server.
By enabling CI or deployment script, getting your writing to the internet has never been easier!


