How To Run Pokemon Go Bot On The Cloud With AWS EC2
Pokemon Go (PoGo) bots today works really well. It can run around spinning Pokestops and catch Pokemons for you automatically. You just need to tell them what to do.
The most popular PoGo bot right now is the Necro Bot. It only runs on windows so those of you who doesn’t have a Windows machine are kind of screwed.
Or are you?
How to run the bot
There are three ways to run this bot:
Get a Windows machine and run it there 24⁄7 which might not be very helpful to your electricity bill
Run it on a Windows VM on your Mac or Linux machine
Run it on VPS such as AWS EC2 which runs all the time, accessible everywhere and very affordable (even free!)
I actually have a gaming PC with Windows, but it is too overpowered to just run this small app 24 hours a day. So let’s do it on Amazon’s server!
What do you need?
This guide is mostly for people who wants to run the bot on AWS EC2. It is totally fine to run it on your windows machine if you didn’t want to bother with AWS. Just go to the NecroBot wiki and follow the instruction there.
If you have never used AWS before. Great news, you can do all this for free. Amazon has the free trial for the first year for new customers. You could also just register a new email and get the free offer again.
So please head to AWS website to register or login.
Launching EC2
Once you inside the console, please click on Services -> EC2 on the menu at the top.
Let’s press the Launch Instance button to start. Scroll down until you see the one called:
Microsoft Windows Server 2012 R2 Base

And click on Select.
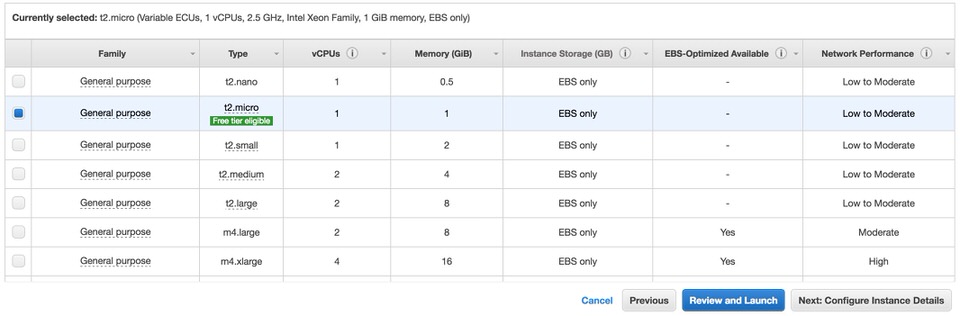
On the next screen, let’s go with the free tier one. Then please press Review and Launch
Then just press Launch when you are ready.
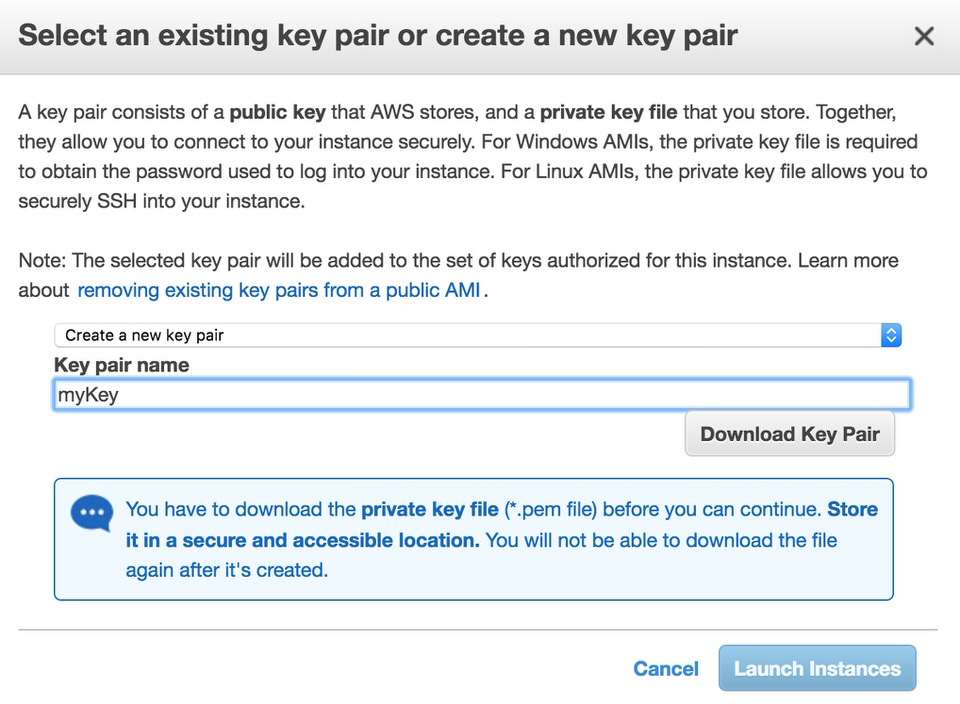
When prompted for key pair, select Create a new key pair and give it a memorable name, such as myKey.
Download the key and press Launch Instance
That’s it. Your first cloud server is being initialized and will be ready in several minutes.
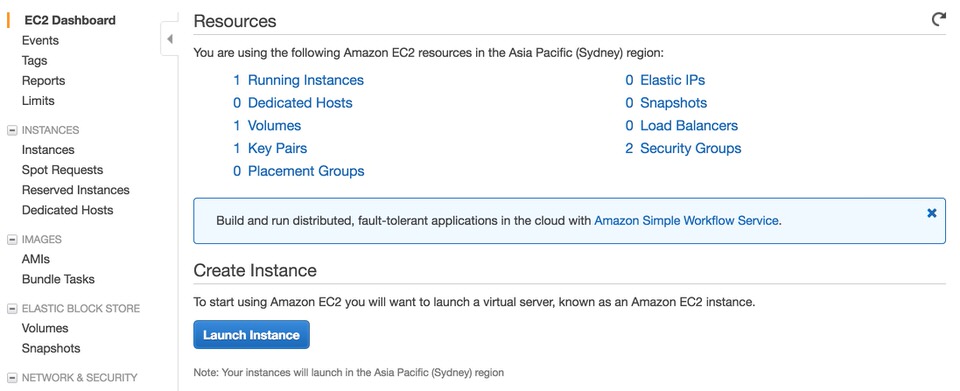
Click on Services button at the top and select EC2 again. This time you should see 1 Running Instances.
Click on that link and you will see one server listed on the table.

If the Status Checks still says Initializing then you just got to wait until it’s ready.
When it is ready, the text should change into 2/2 checks... with a green tick. It’s time to RDP into it!
Getting login details
Now please click on the only server you have and click the Connect button at the top.
Click on Download Remote Desktop File to get the .rdp file then click on Get Password.
In the next screen, click on Choose file and select the myKey.pem file that you downloaded earlier before launching the instance.
Once the key is populated, just click Decrypt Password. Now write down this password as you will need it to login to your instance.
Remote access into the instance
If you are on a mac, you will have to download the app Microsoft Remote Desktop from the Mac App Store.
On windows, you should have the Remote Desktop Connection app installed already.
Now please run the .rdp file that you downloaded on the previous step. It should run the RDP app and logs you into the server.
Enter the password you get before and you are ready to proceed!
If this is your first time doing RDP, just treat the remote desktop like any other Windows machine. Pretty neat huh?
Downloading the bot
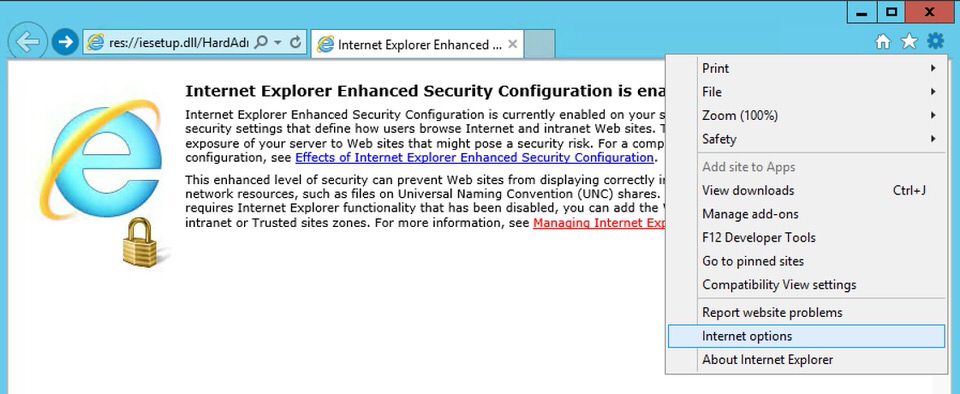
From the inside of your remote desktop, just click the start button and select Internet Explorer. You should see the warning about enhanced security configs. This means that IE will prompt you if you really wanted to access a webpage for your safety. So when you are prompted, just click Accept or Add to enable access.
Now let’s go to the NecroBot Installation Wiki and read the instructions. When you understand what to do, lets click on the Release.zip link.
On the next page, just click on the first Release.zip under Downloads.
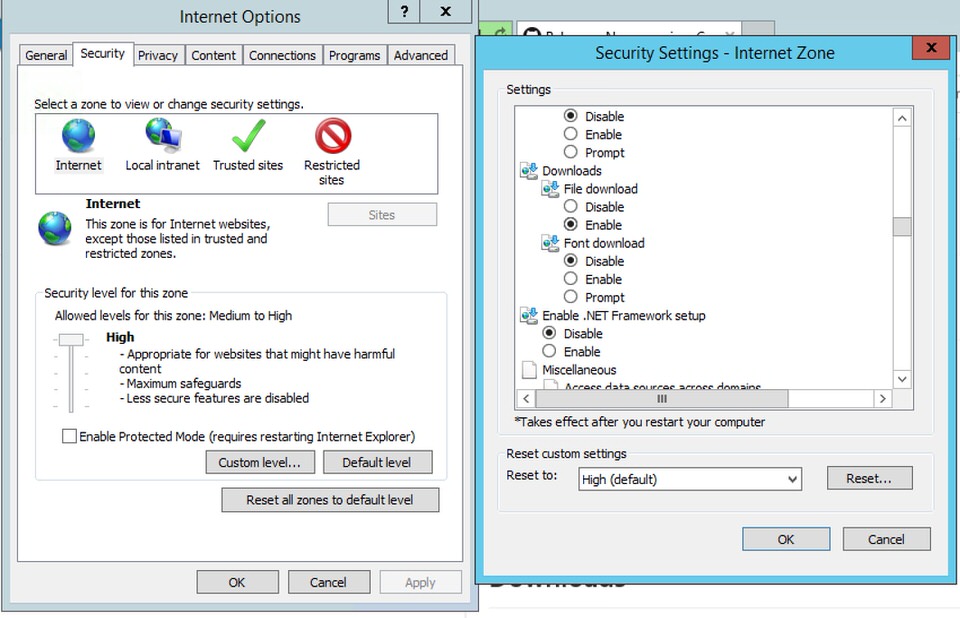
If you get an error message saying Your current security settings do not allow this file to be downloaded. then just click the gear icon and go to Internet Options
From there go to Security tab and select Custom Level and scroll down until you see the disabled download. Just switch it to enable.
Now try to download the file again and you should be able to. Once it is done, just click on Open Folder

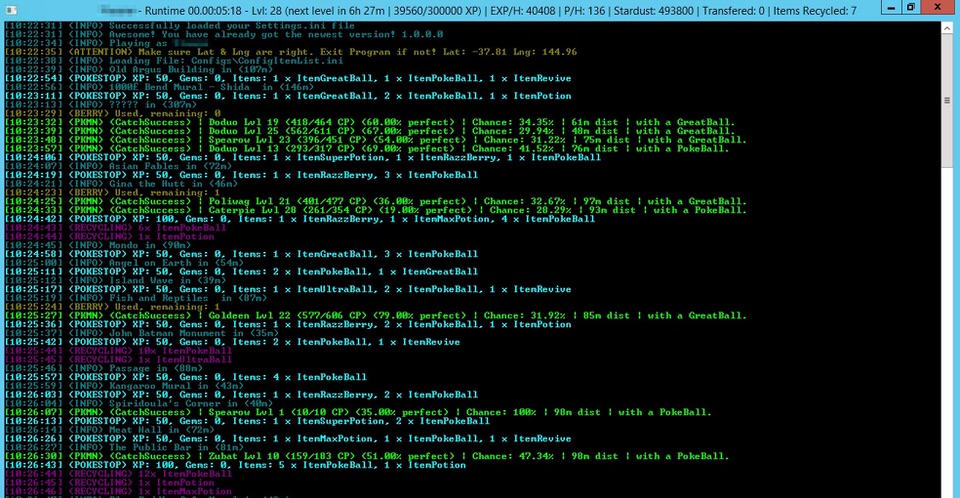
There you have it, the bot is extracted and ready to be configured. Just follow the steps outlined in the NecroBot wiki and you should be on your way to leveling up!
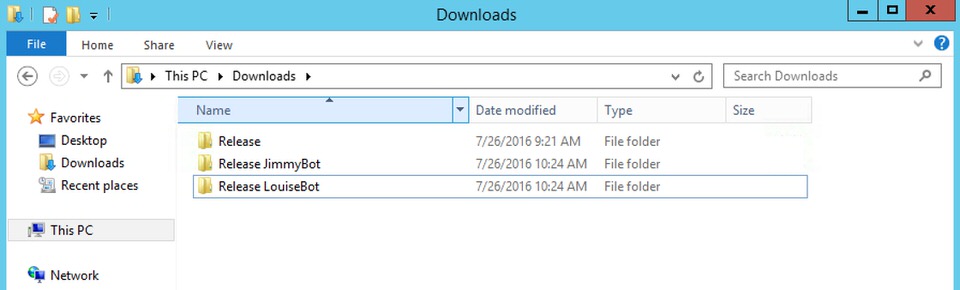
Multiple bots!
You can run multiple bots using the same windows instance. Just make a copy of the Release folder and change the login details. In no time you will be running hundreds of bots!
So that’s it. Good luck and let me know if you have any questions!


