Nightstand - Woodworking Project Step by Step
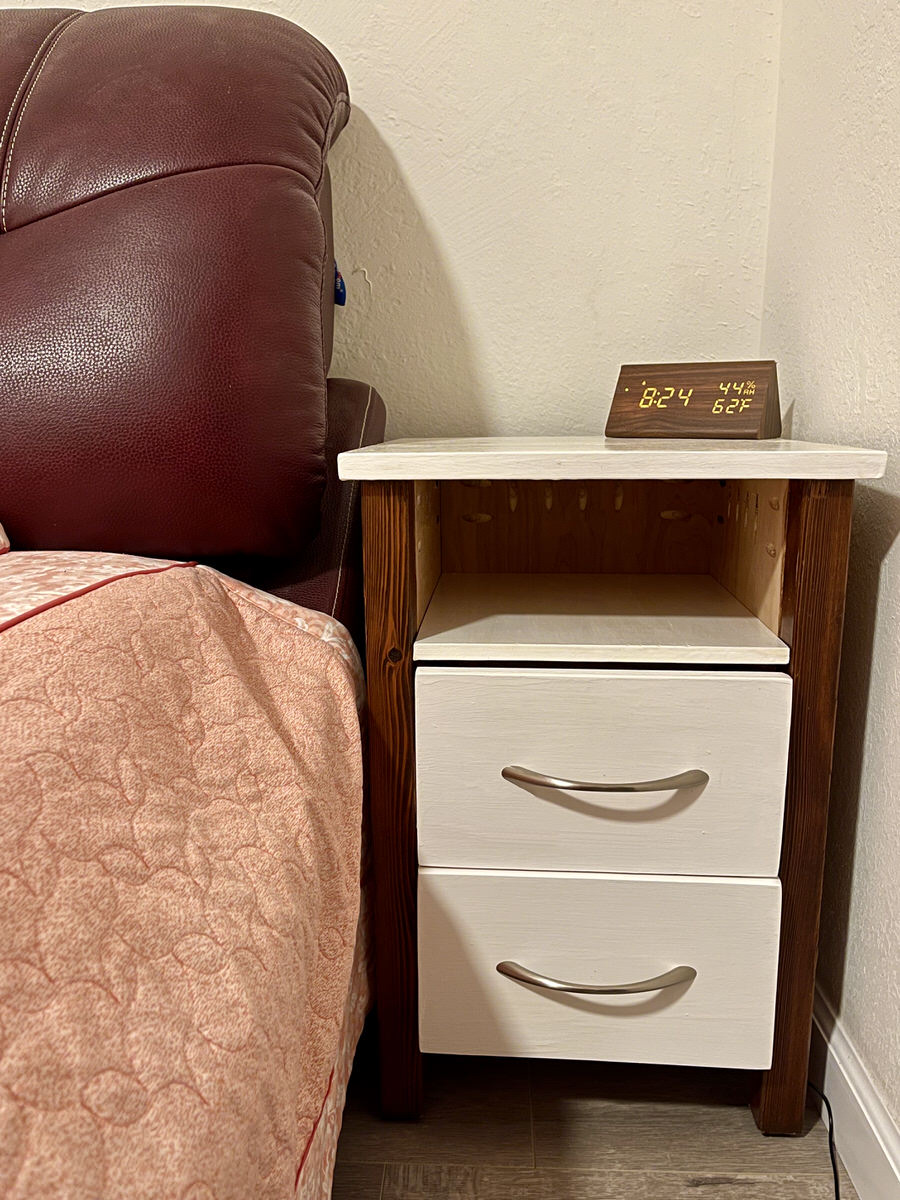
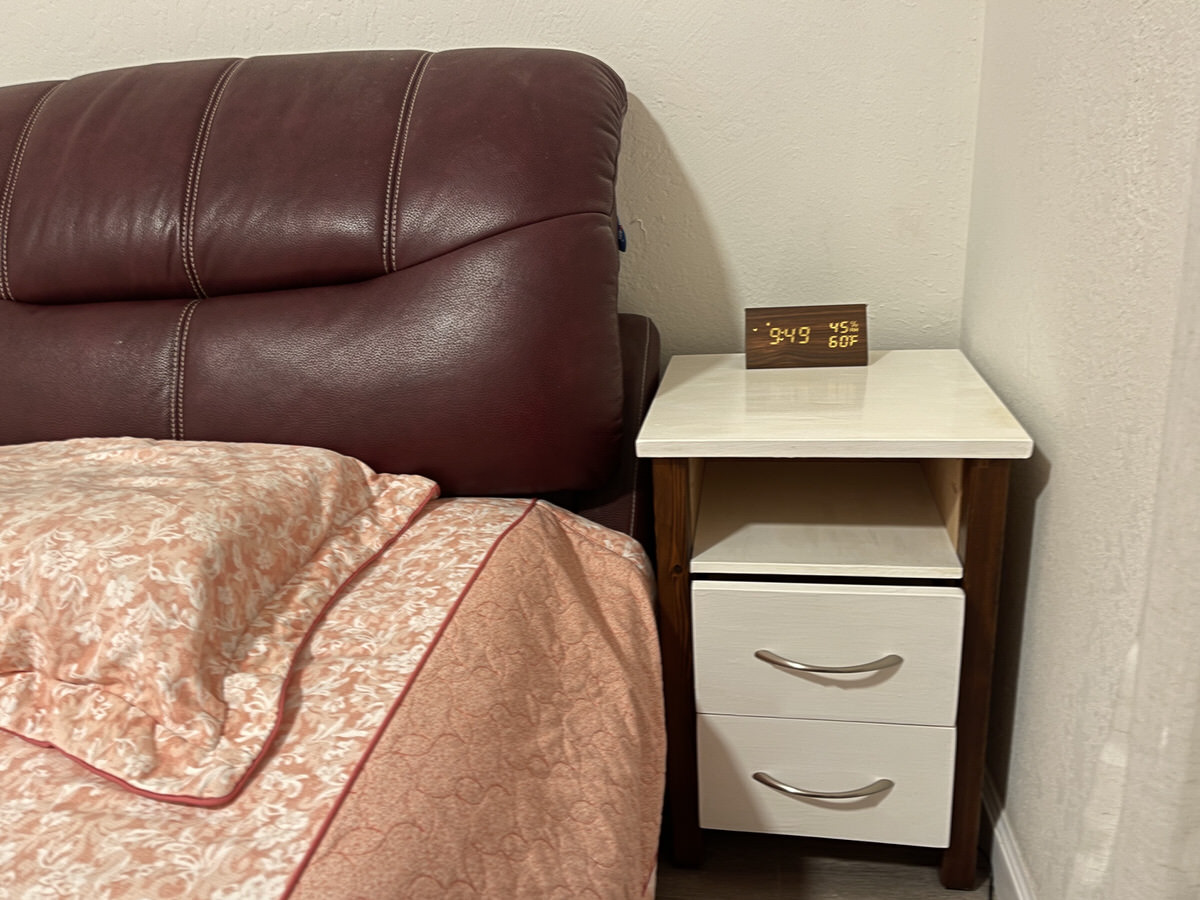
The final product sitting beside by bed.
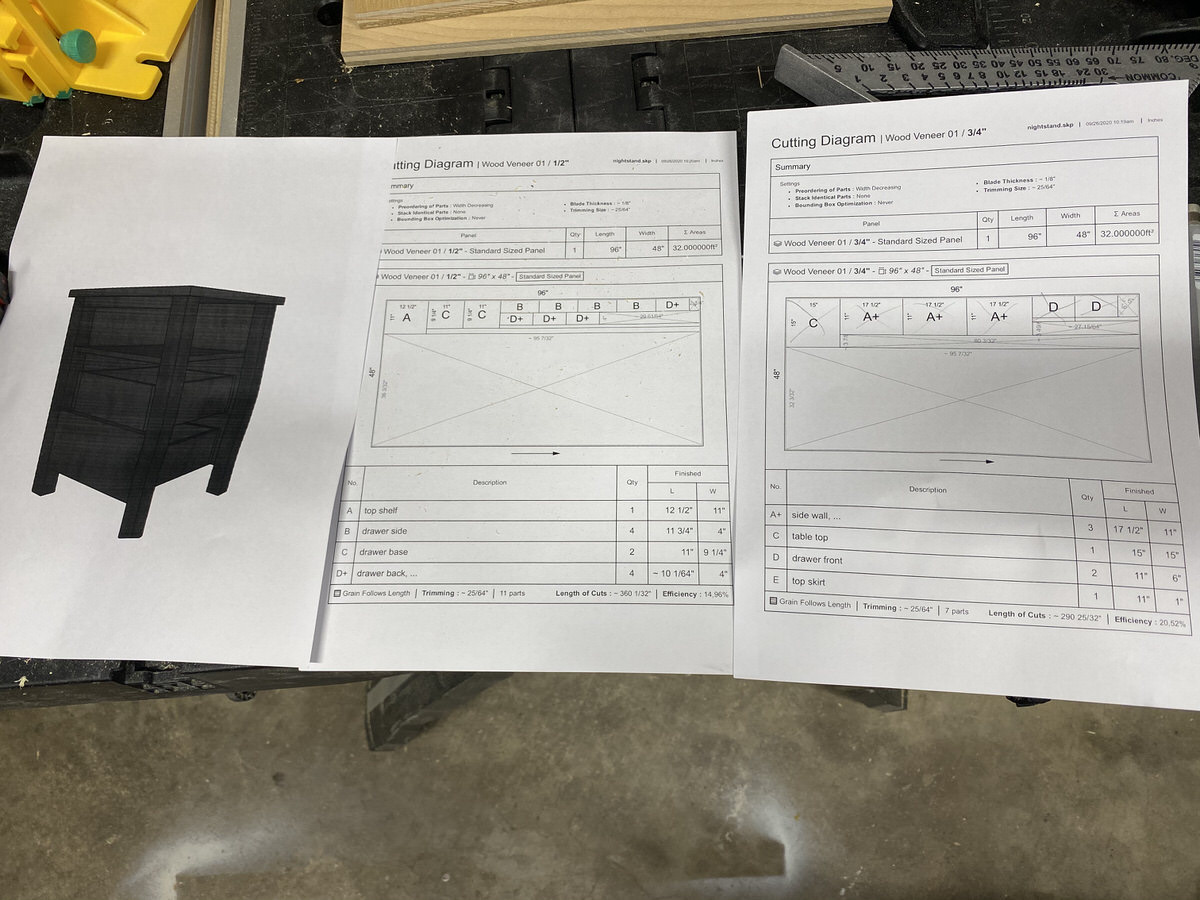
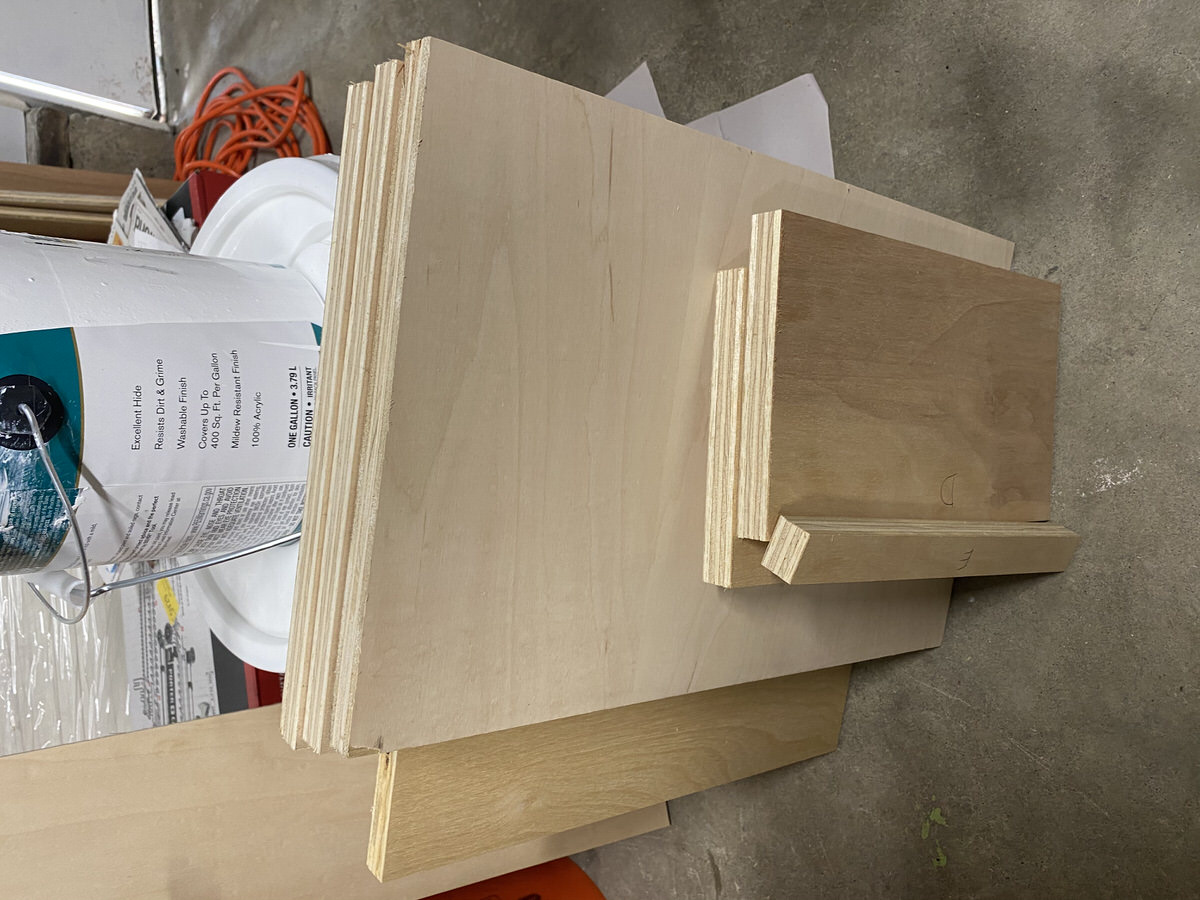
First we start with the cutlist and Sketchup design.
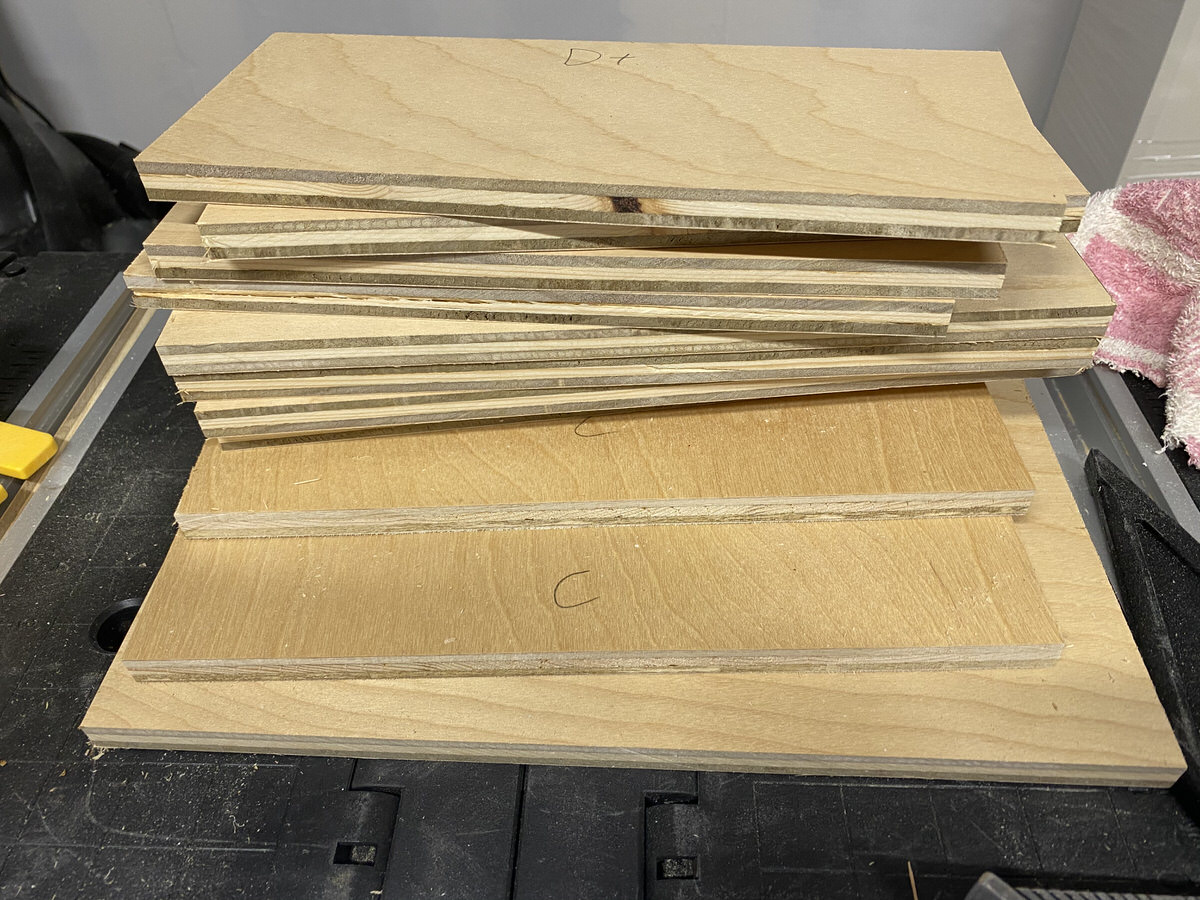
Cut the boards to size with table saw and circular saw.
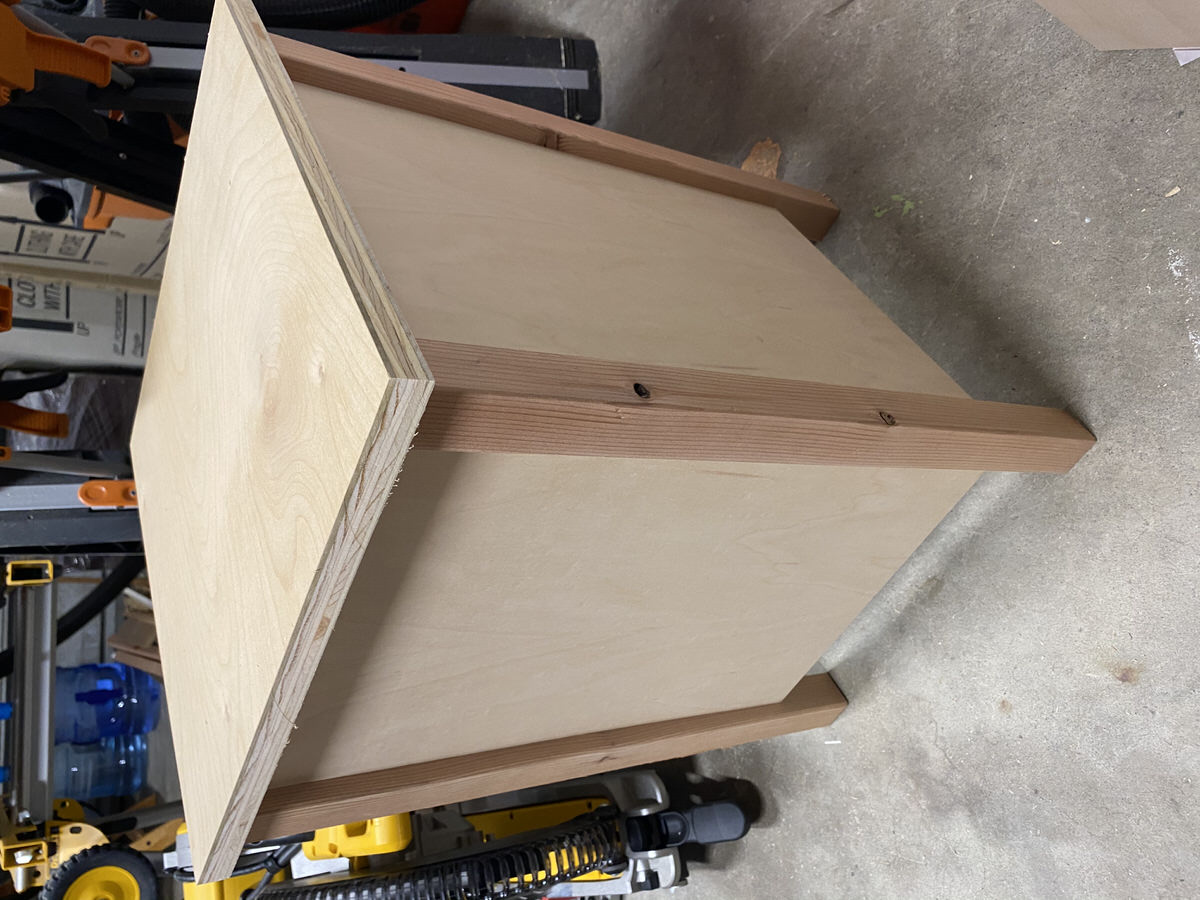
Now it’s time to glue the panel to the Redwood beam


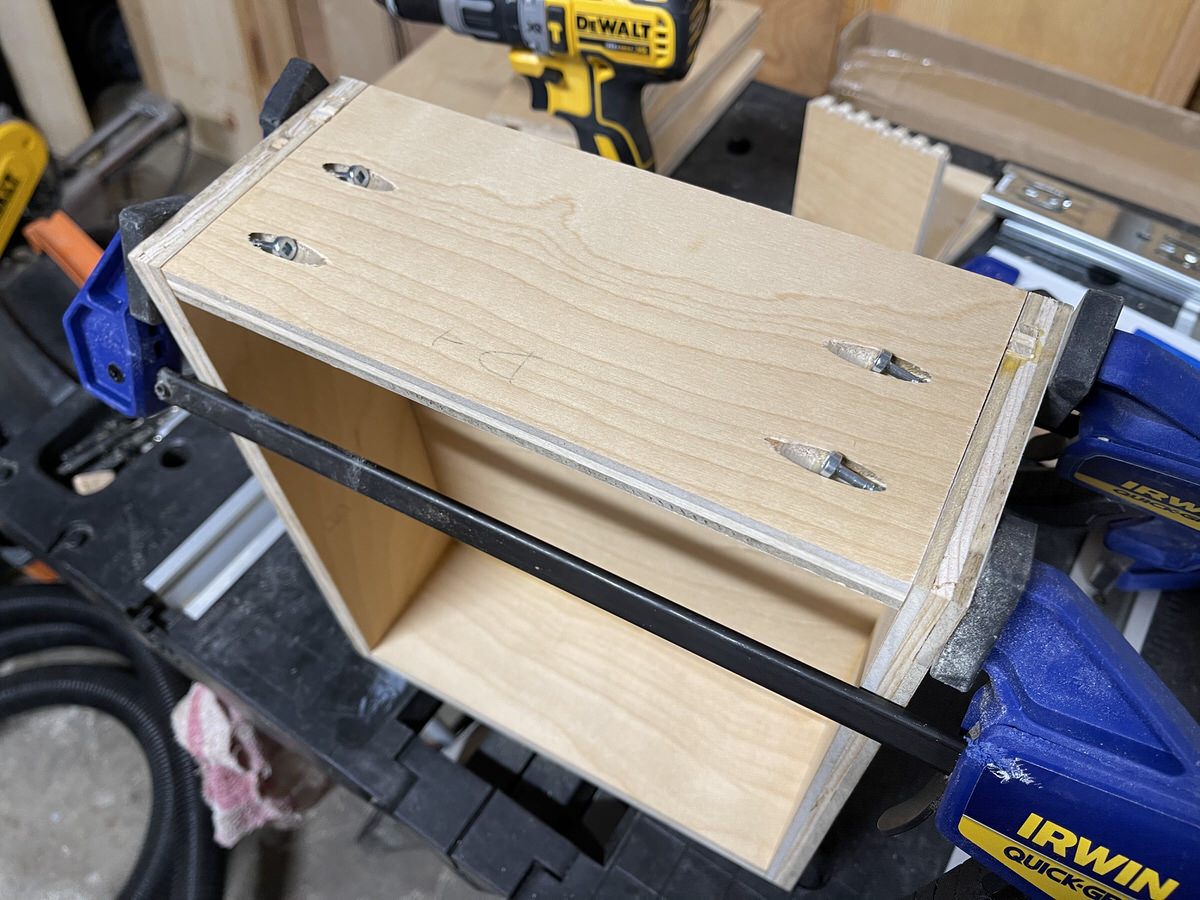
Now we can use pocket screws to make the joint stronger. I admit that I probably went way overboard with the pocket screws. I ended up only using half of those holes.

Looking like a table now!
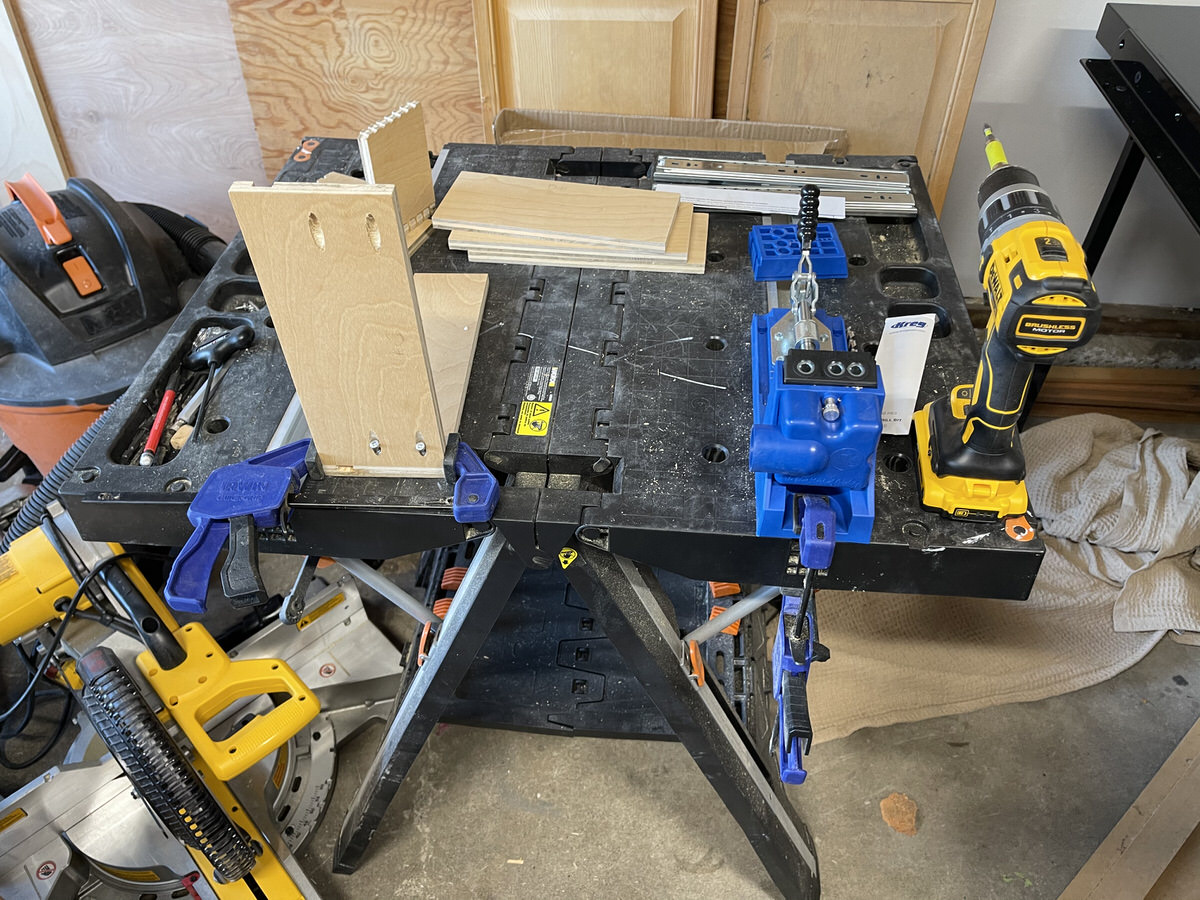
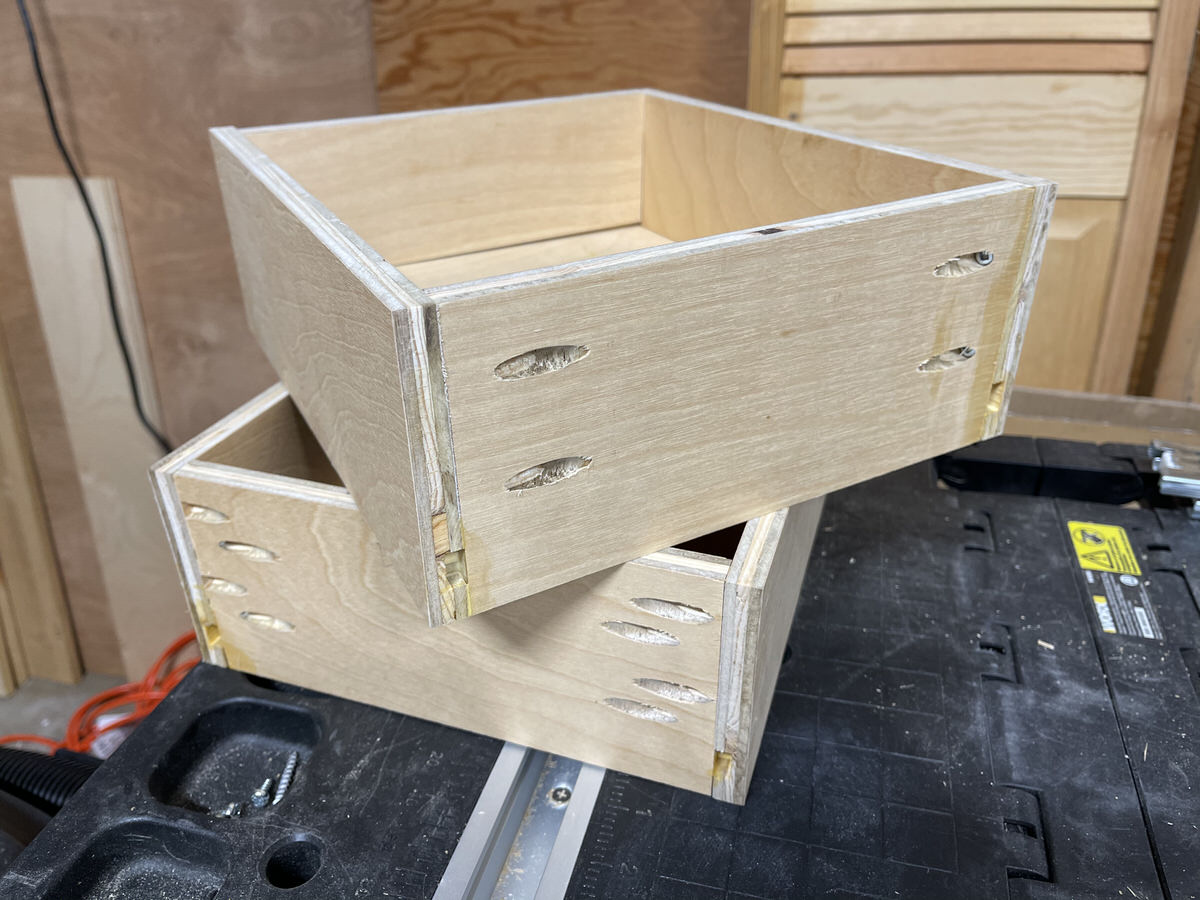
Now we can move on to assemble the drawers with glue and pocket screws.
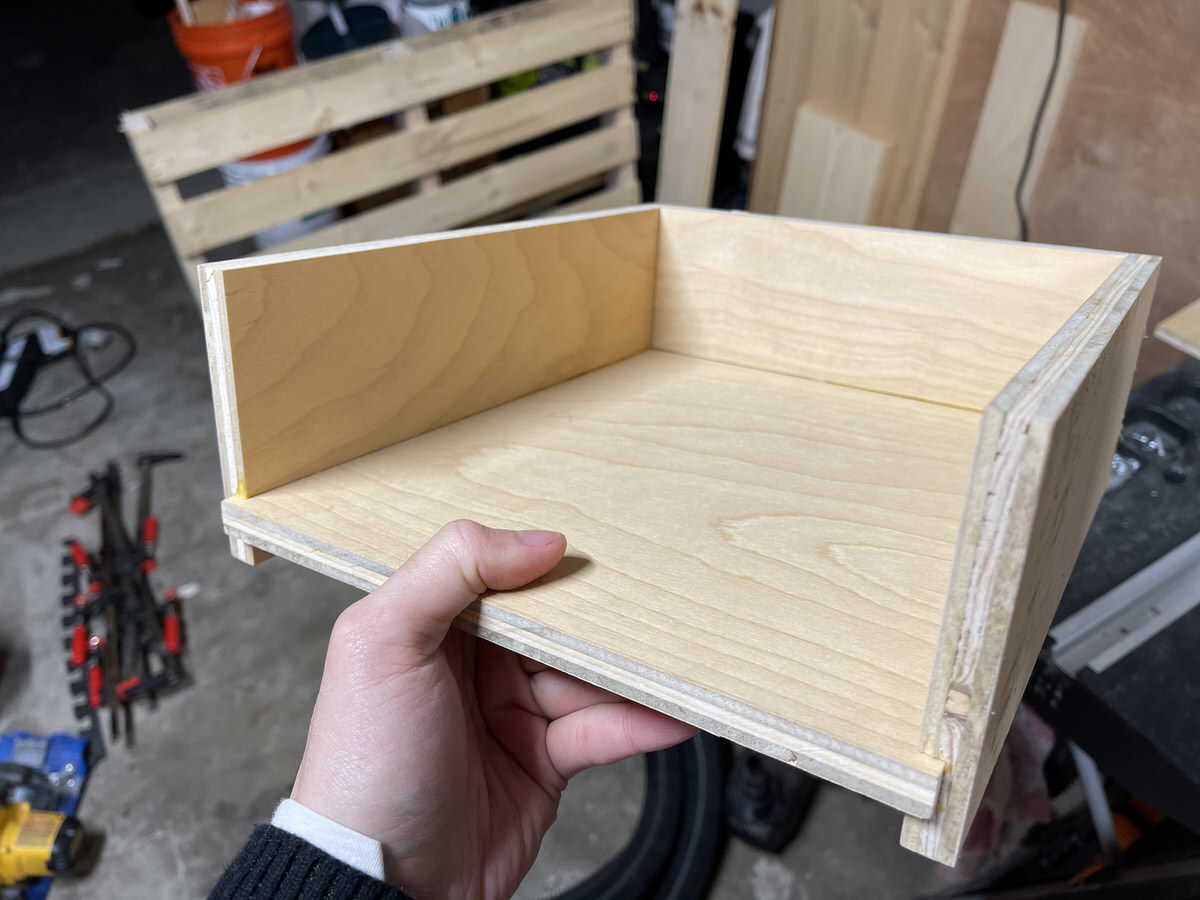
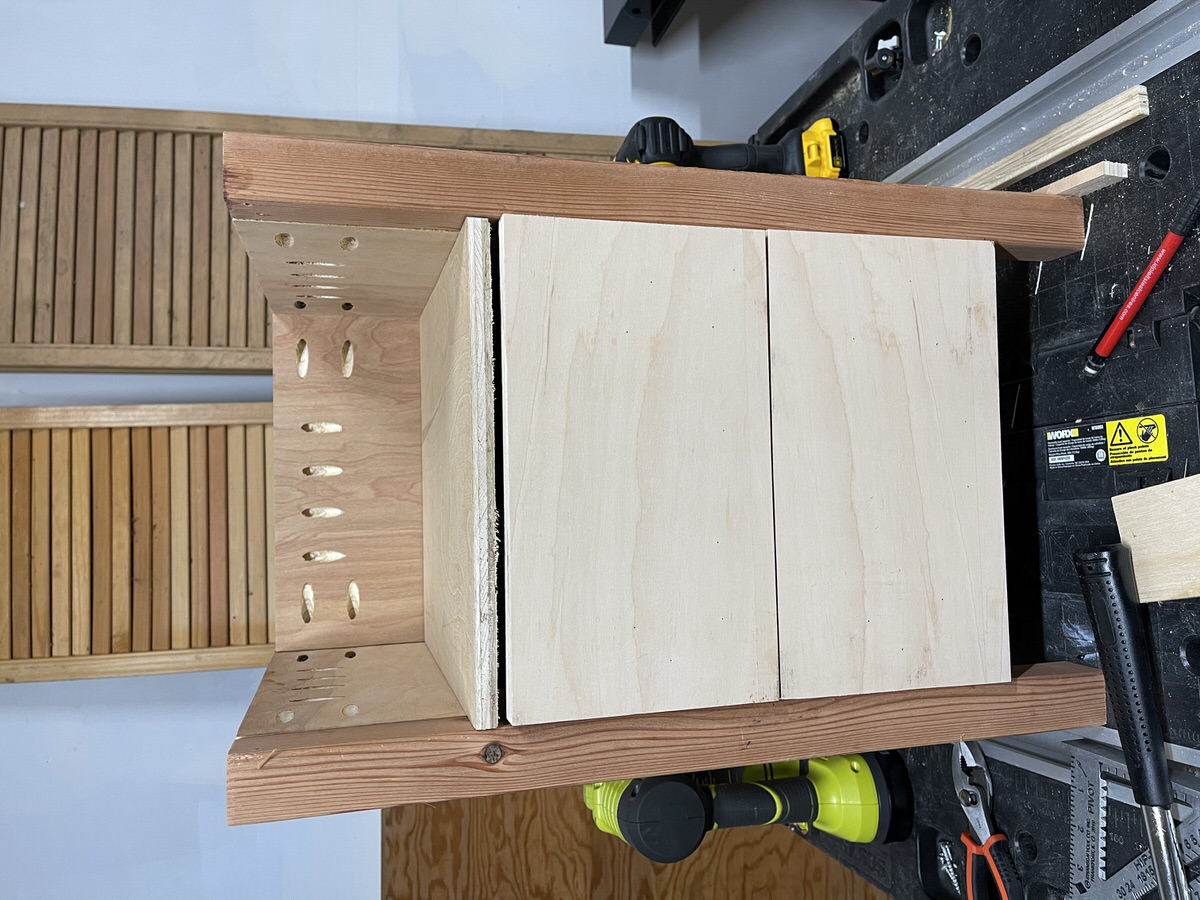
Drawers looking good. Don’t worry about the holes since we will use a facade in front of these that will cover up the holes.
Time to put on the railing.
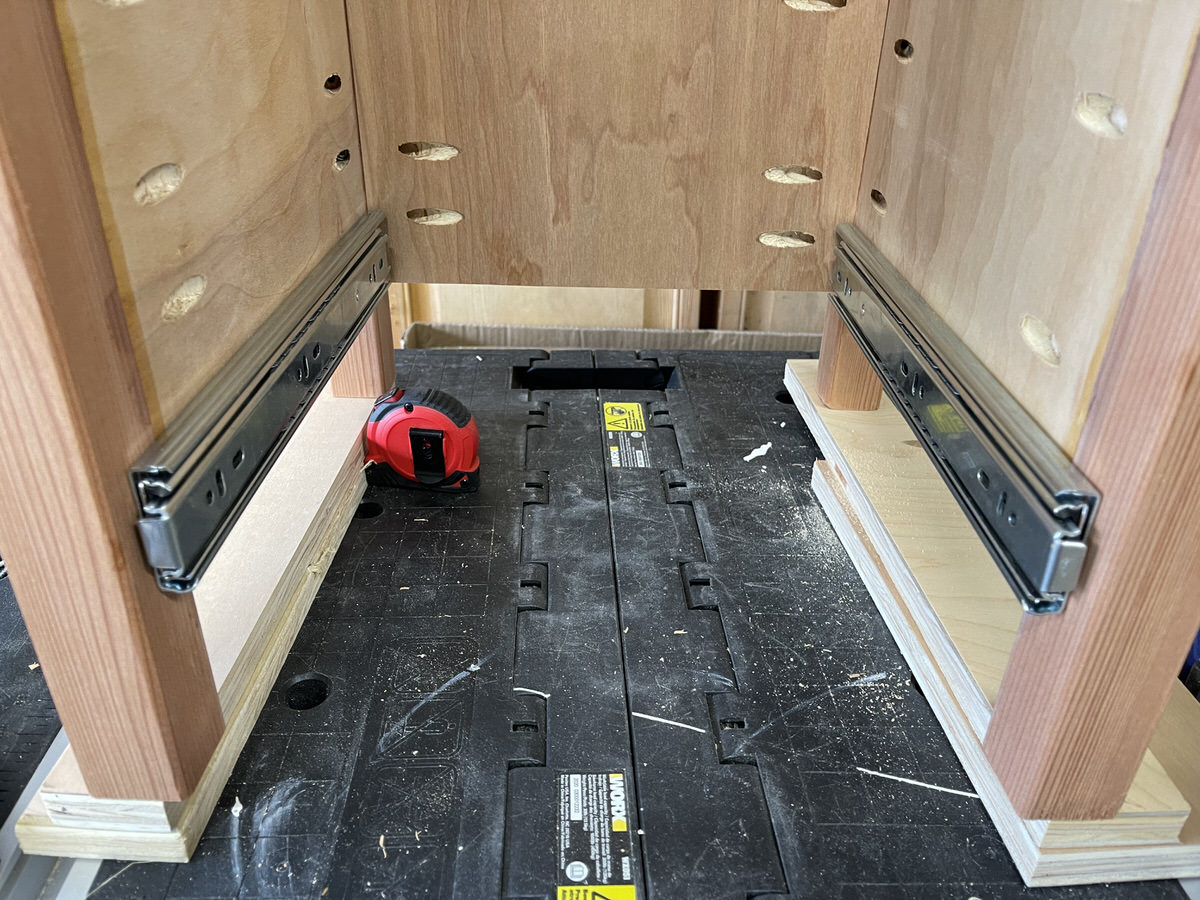
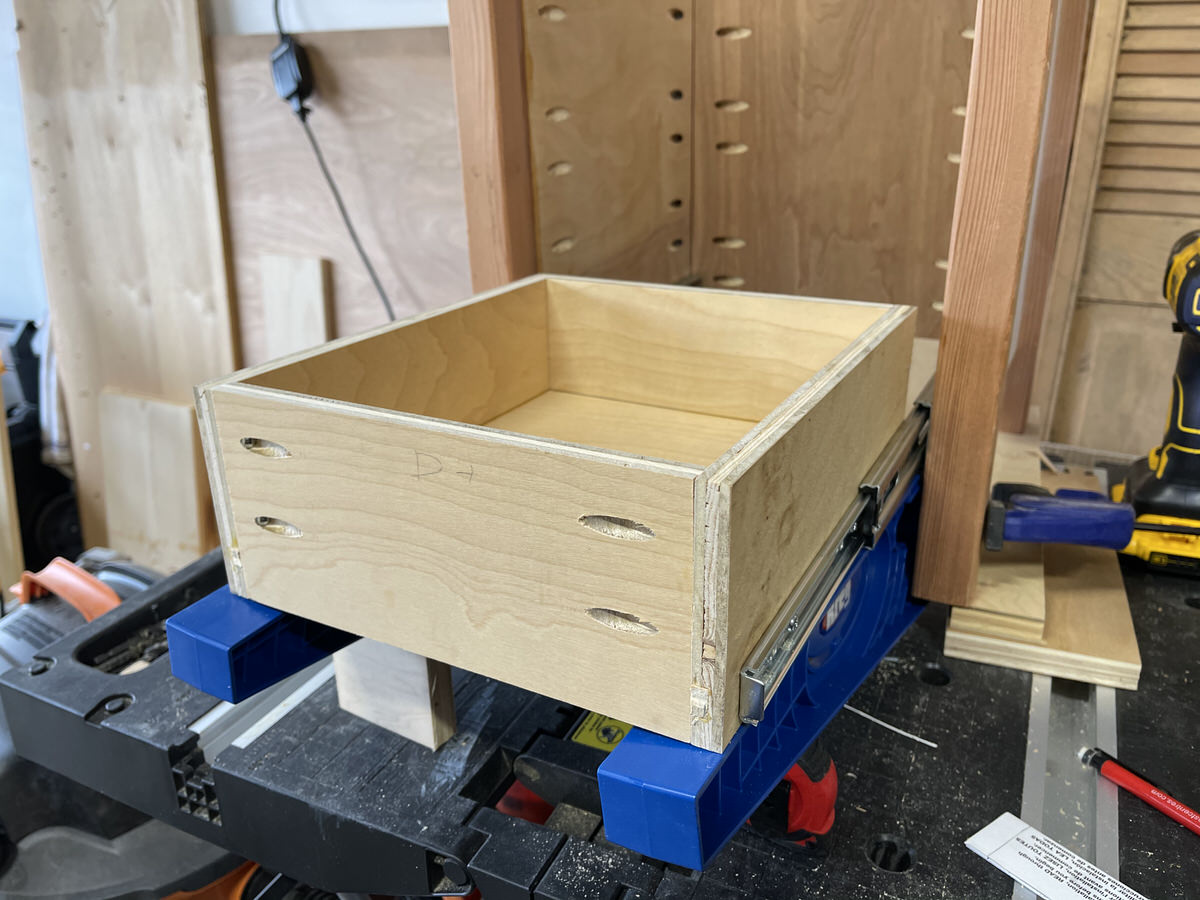
Once the railing is done, we can put on the drawers. I used Kreg’s drawer jig to make this easier.
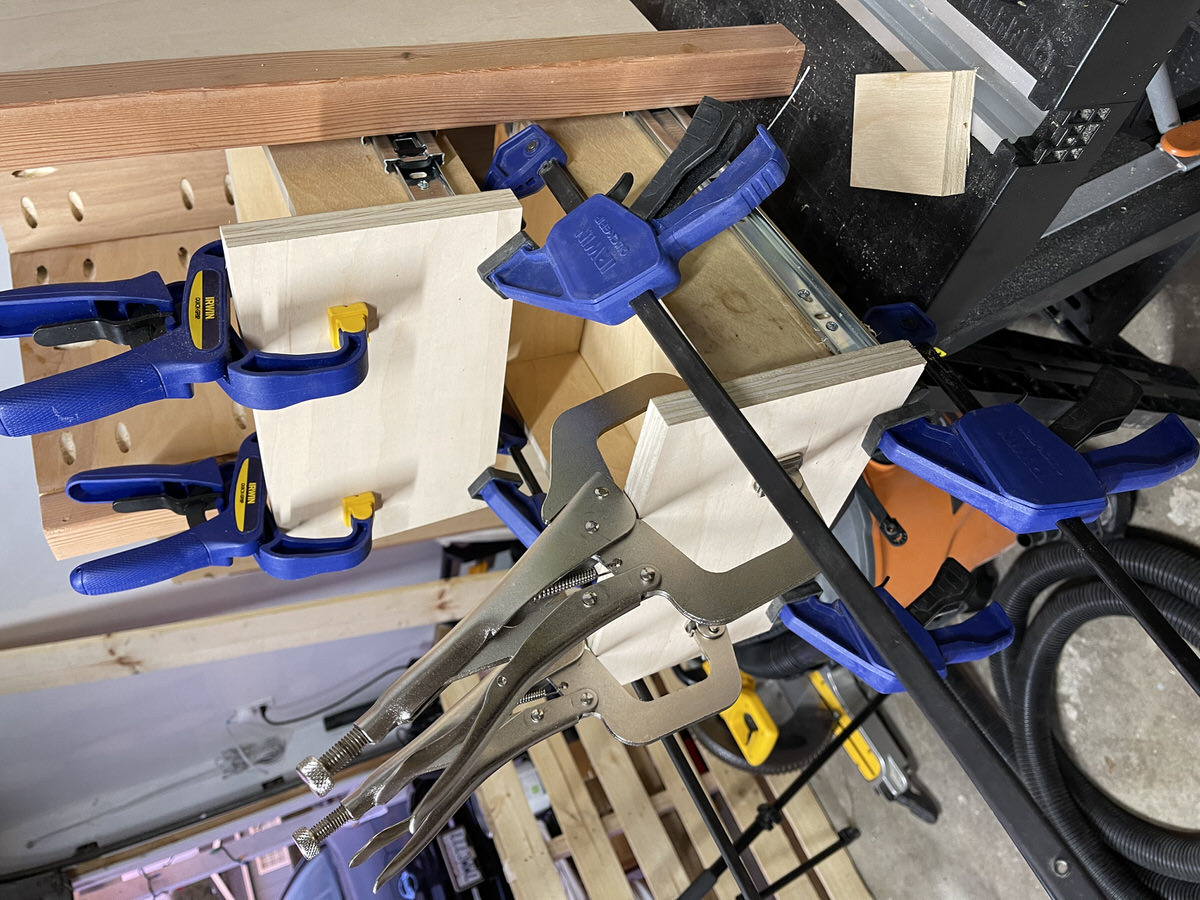
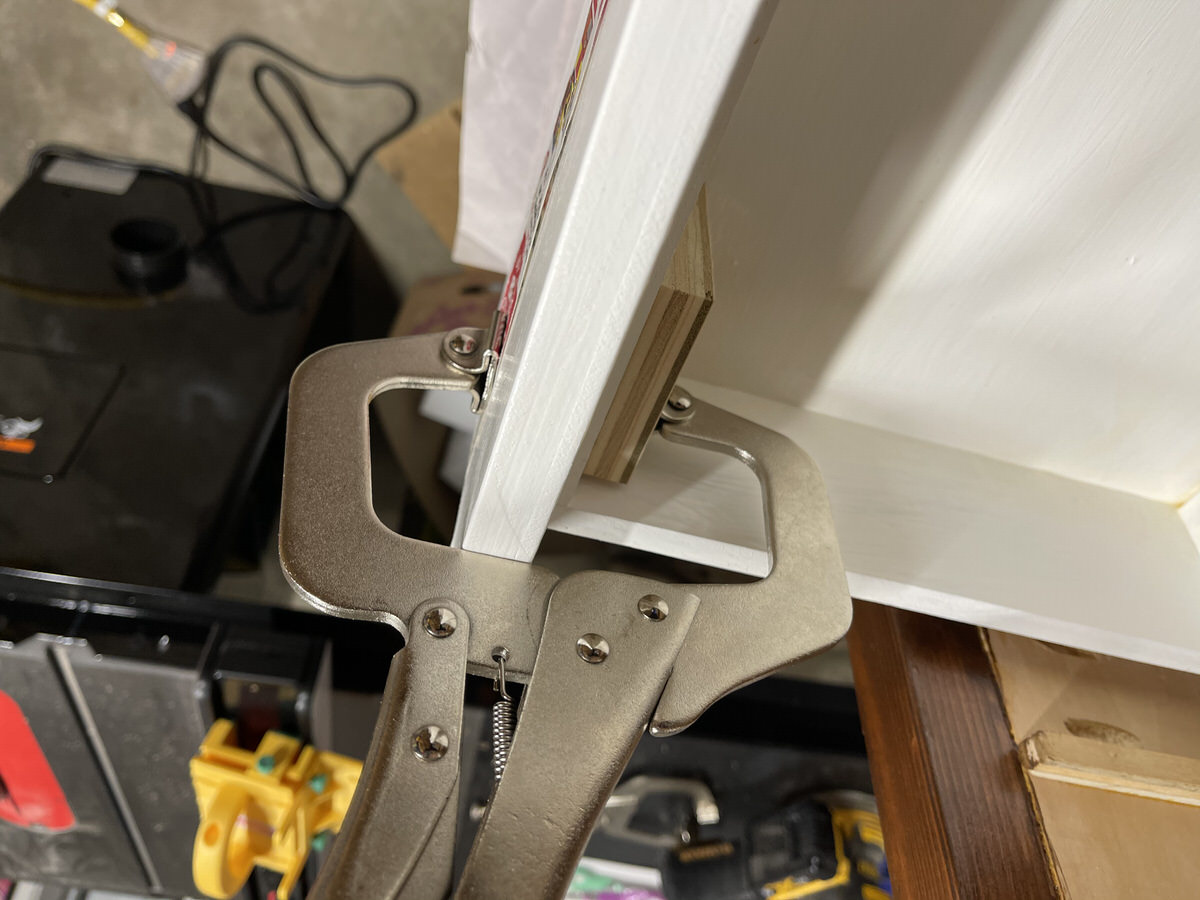
Putting up the facade with glue and pin nails. You can’t have enough clamps.
Looking great!
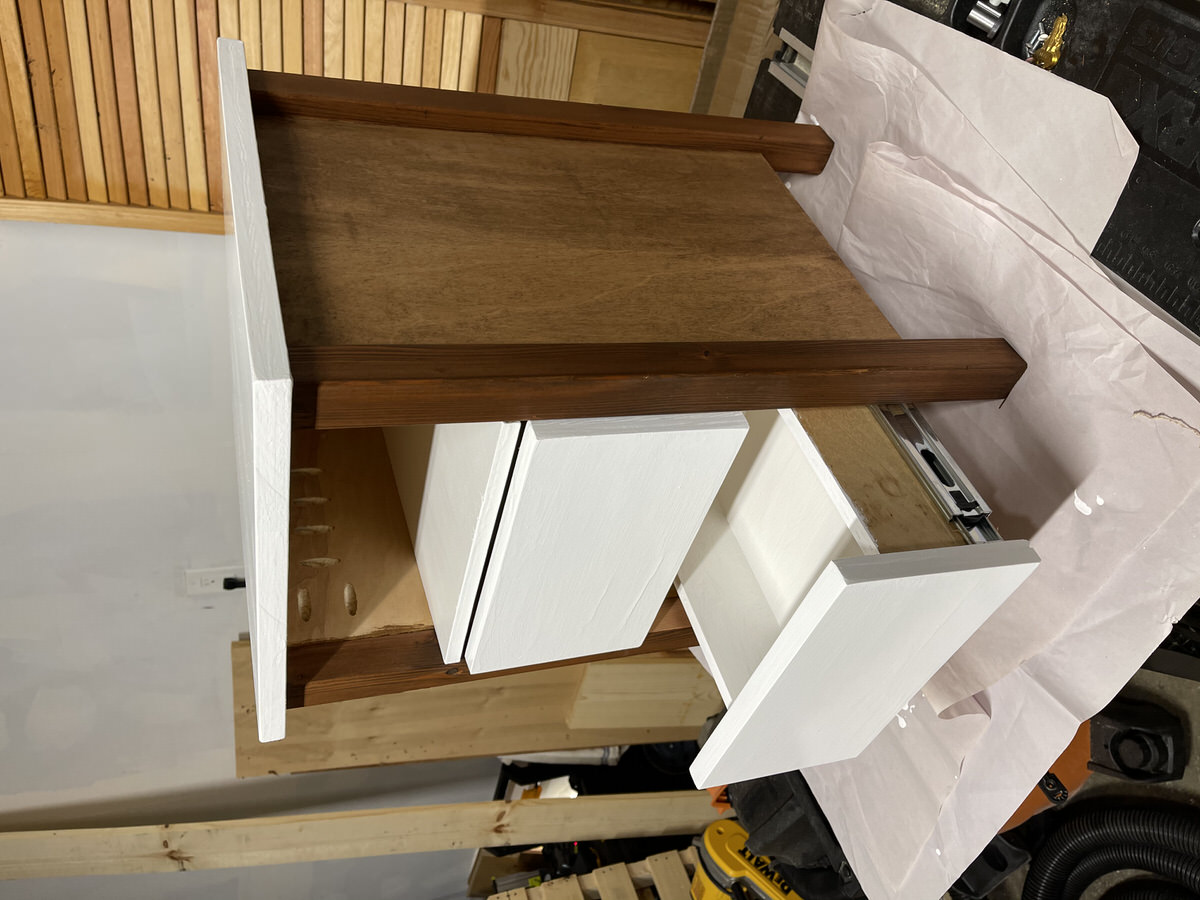
Now it’s time to paint and stain them. I use Behr white paint on the surfaces and drawers.
The Redwood beam and side panels are stained with Varathane Dark Walnut stain and finished with water based Polyurethane.
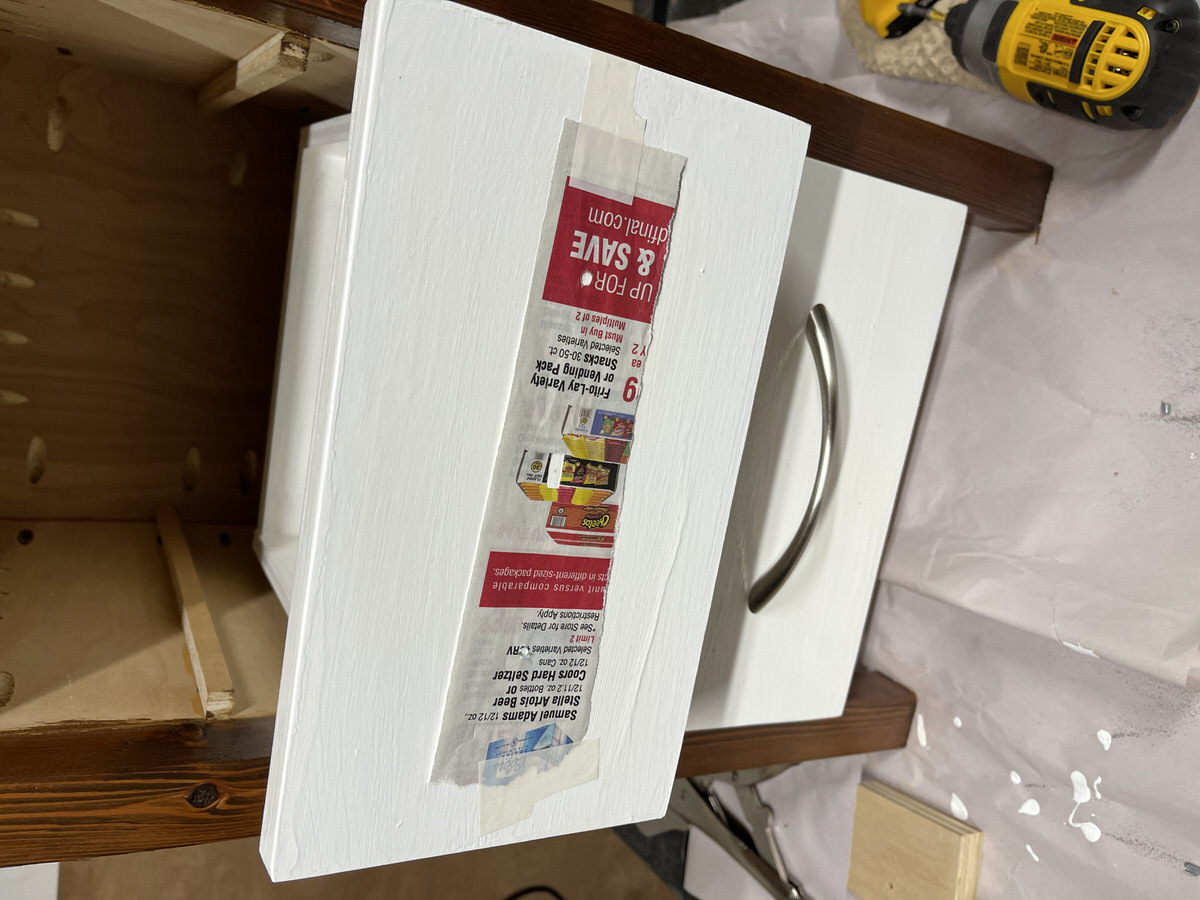
Time to install the drawer handles. I used some newspaper to correctly position the holes for drilling. You just need to put the drawer handle on a newspaper and poke the hole where the screws should be.
Clamping a wood to prevent blowout during drilling.
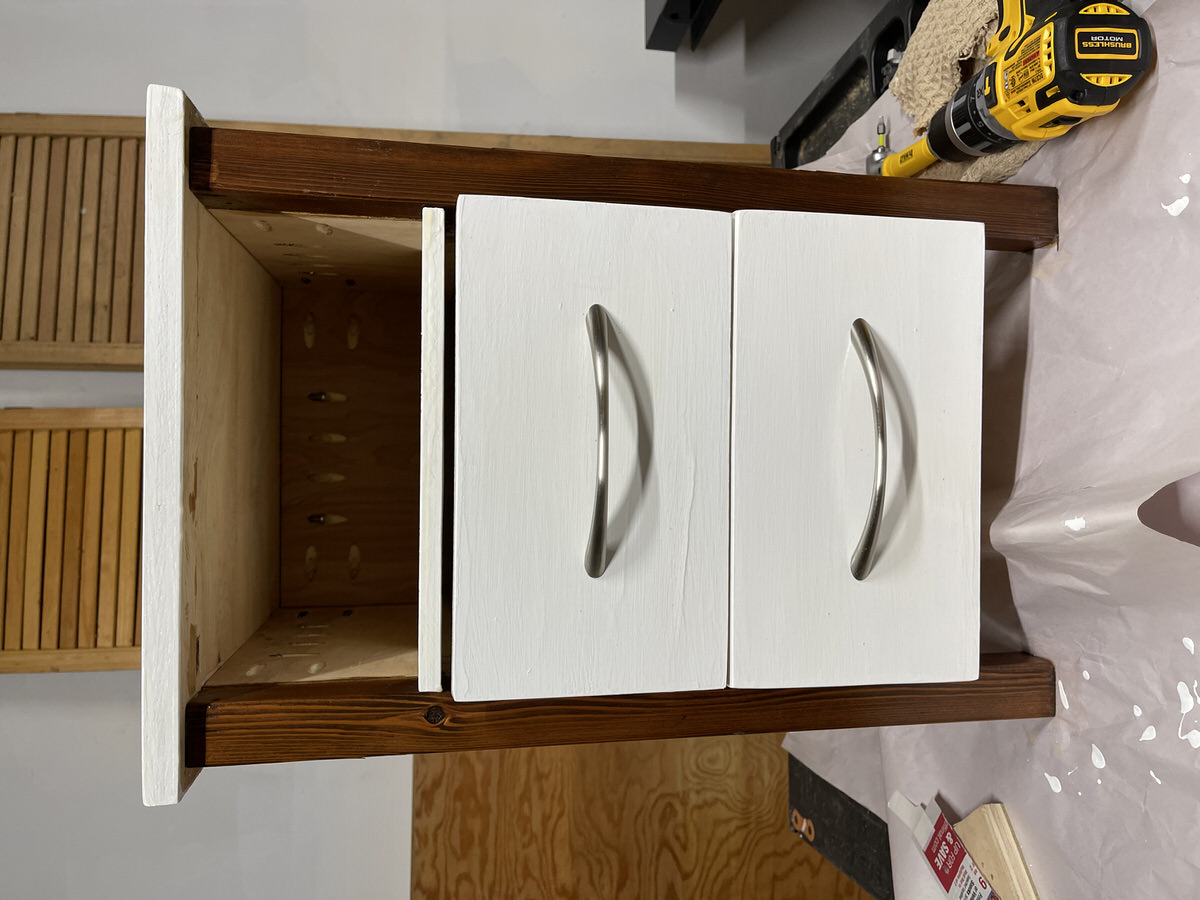
Handles installed.
Sitting proudly beside by bed! Mission accomplished!
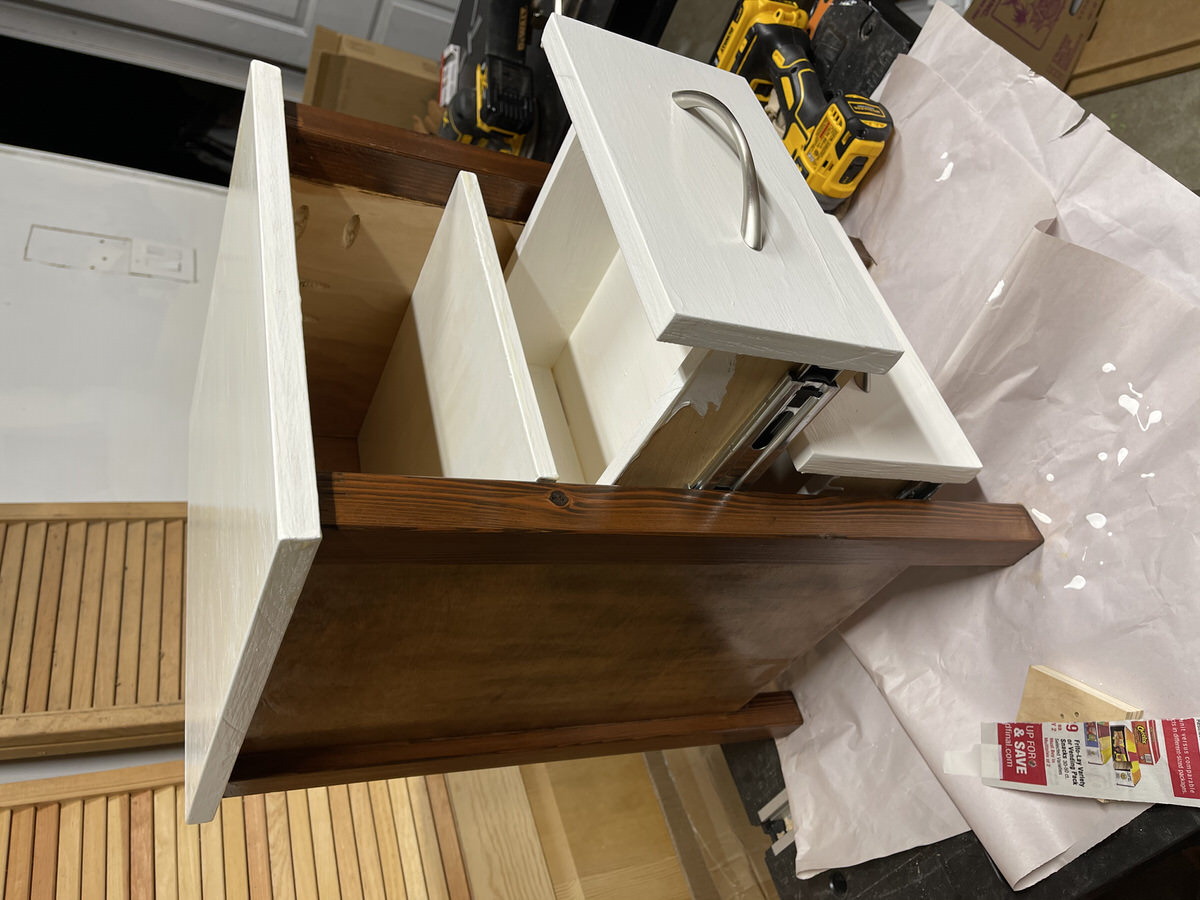
The pocket holes are still quite visible as you can see. I’ve decided to not do anything with them since in most circumstances, we won’t ever get to see them much.